
Plant how-to: how to propagate a Hoya
Long time no blog post! I’m back after a couple months hiatus. Hoyas are among my favorite plants, as many of my blog readers know, and I’ve wanted to write a blog post on Hoya propagation for a while, but life has been so busy! With the advent of spring, I’ve been feeling really inspired and motivated to write more blog posts. Without further ado, here’s step-by-step instructions on my personal favorite way to propagate/root Hoyas.
There are, of course, many ways to root a Hoya, but this is my tried-and-true method that has never failed me, no matter what the Hoya species (and some Hoyas are definitely more finicky than others when it comes to propagation). In the tutorial, I’ll explain why I prefer this method and some other methods that work and don’t work as well.
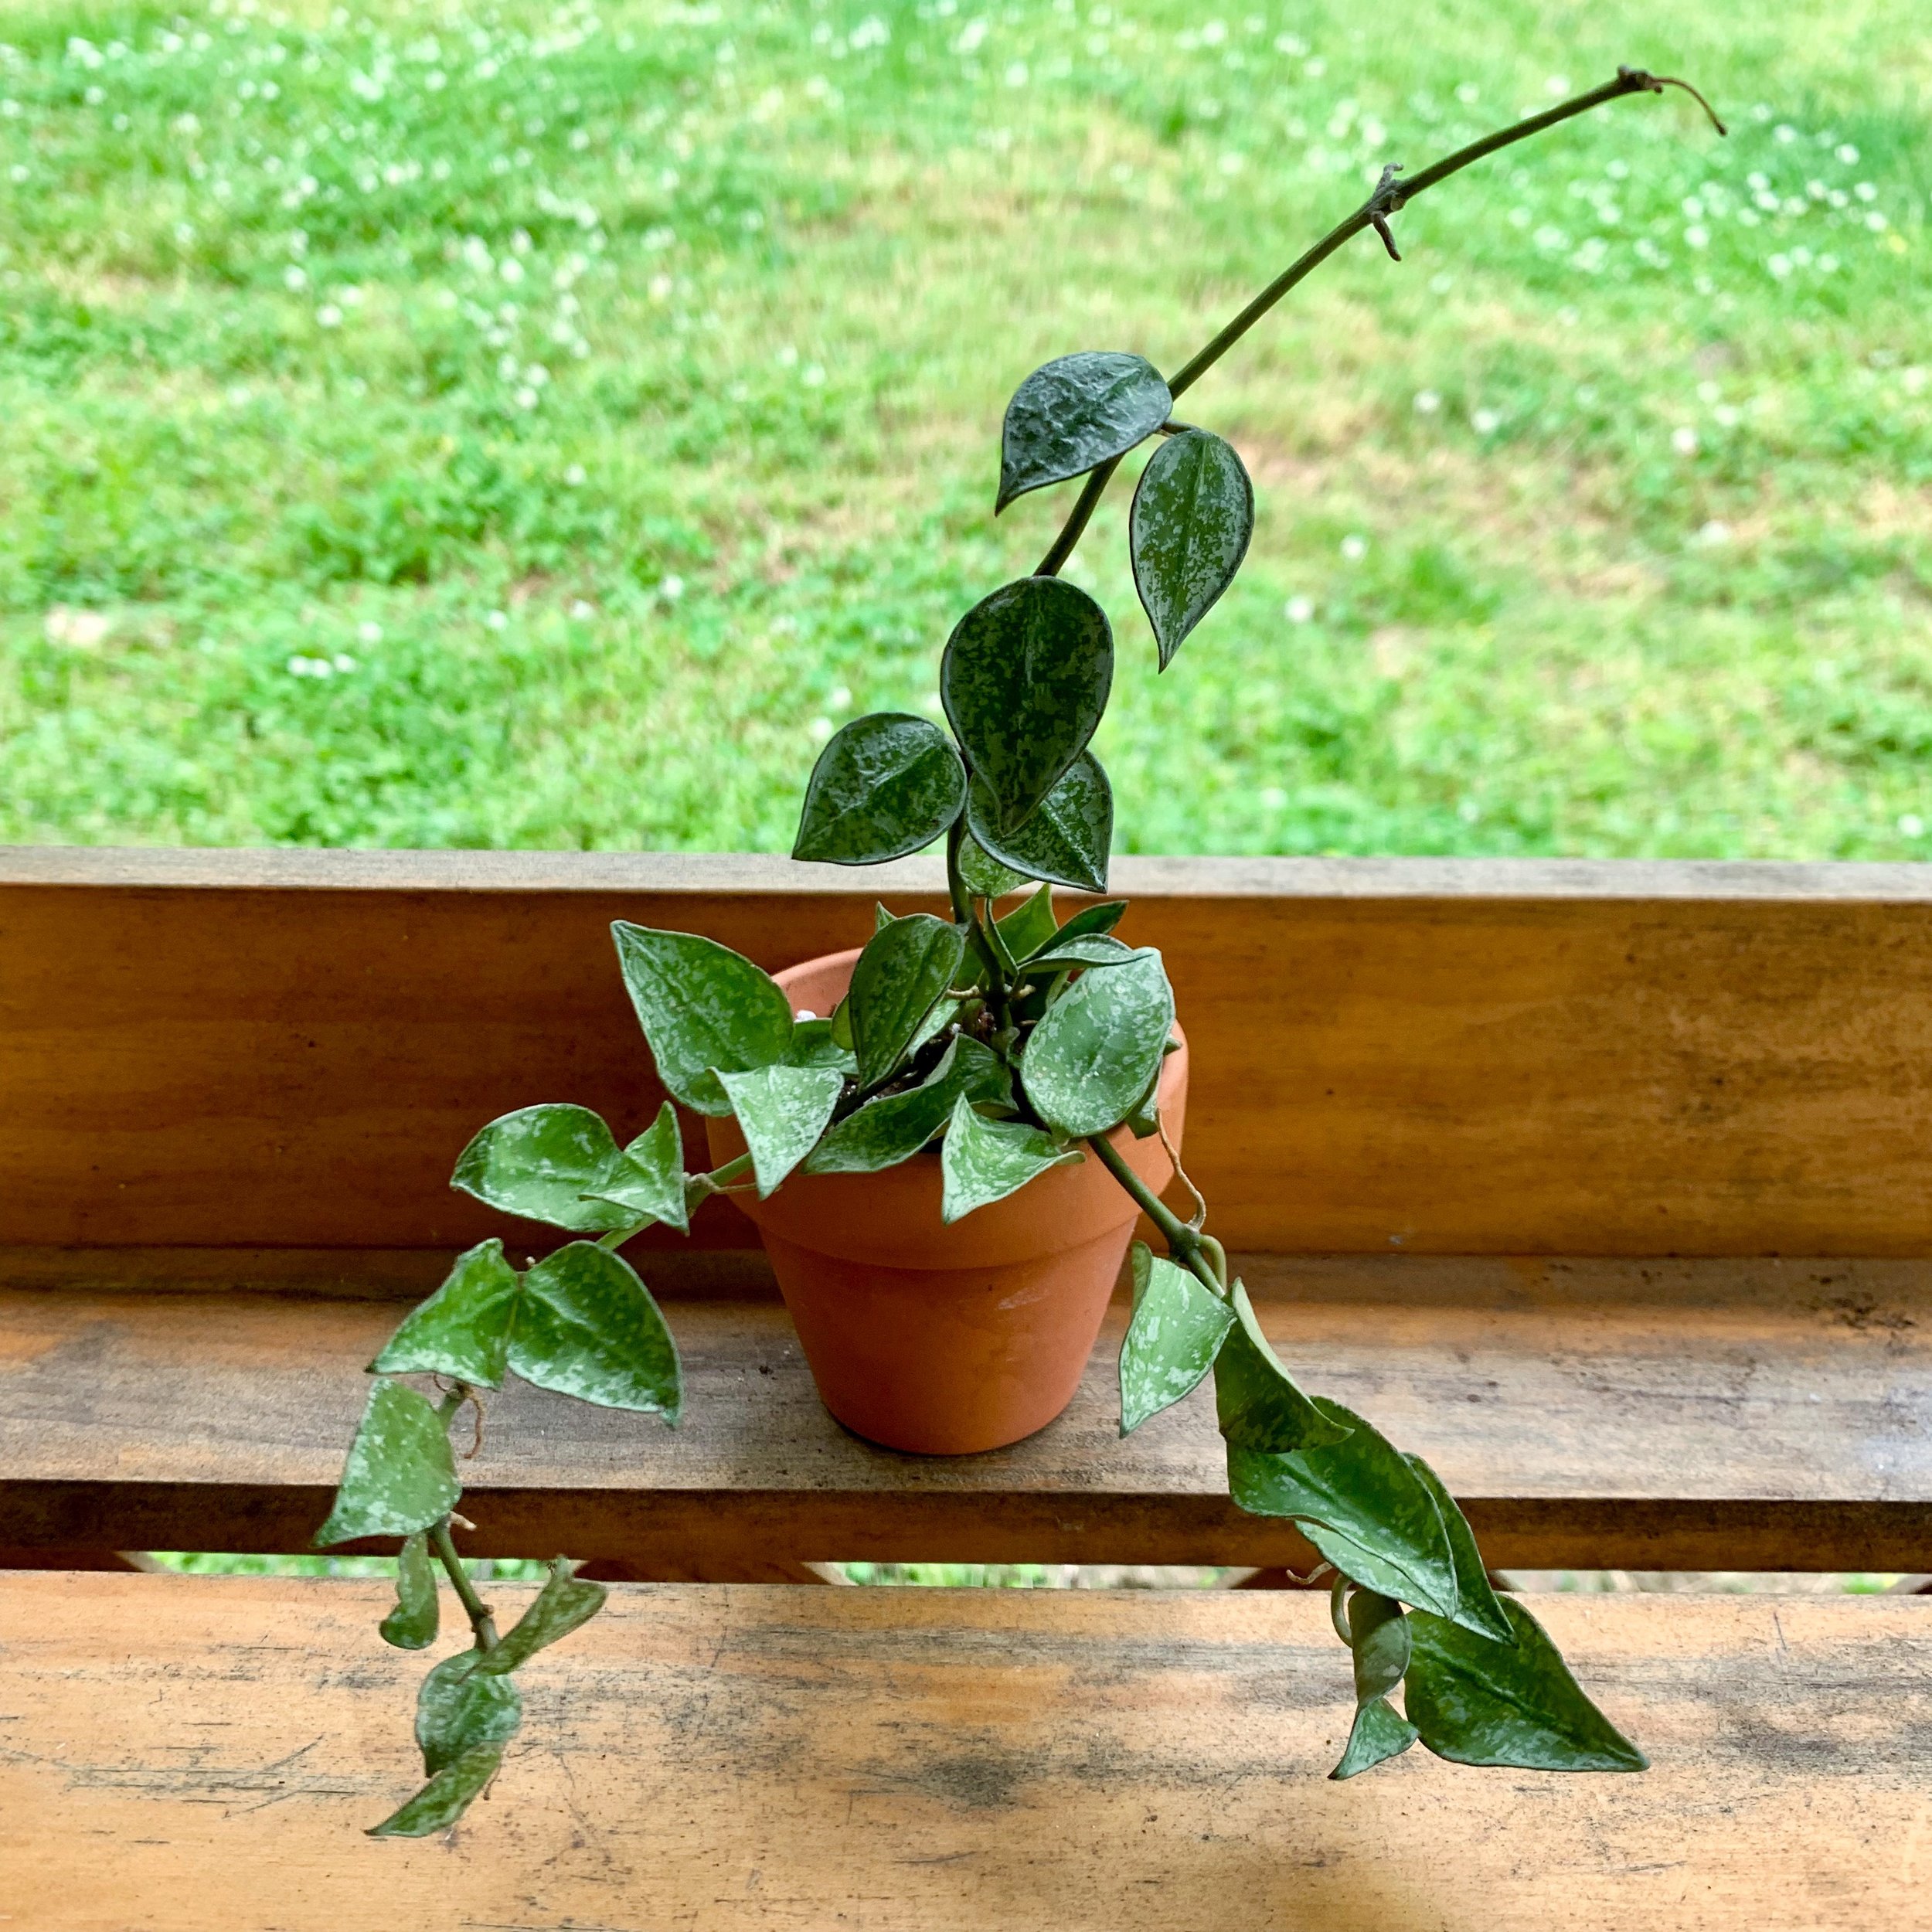
FYI, I’m using a cutting of Hoya krohniana ‘Eskimo’ that I snipped from a dehydrated mother plant. :)
What you’ll need:
a Hoya cutting with couple of nodes
potting soil and a few soil amendments such as orchid bark, perlite, or charcoal
a small pot with drainage hole
water
rooting hormone of choice (optional)
clear plastic baggie/dome and heat mat (optional)
Step 1: Mix your medium
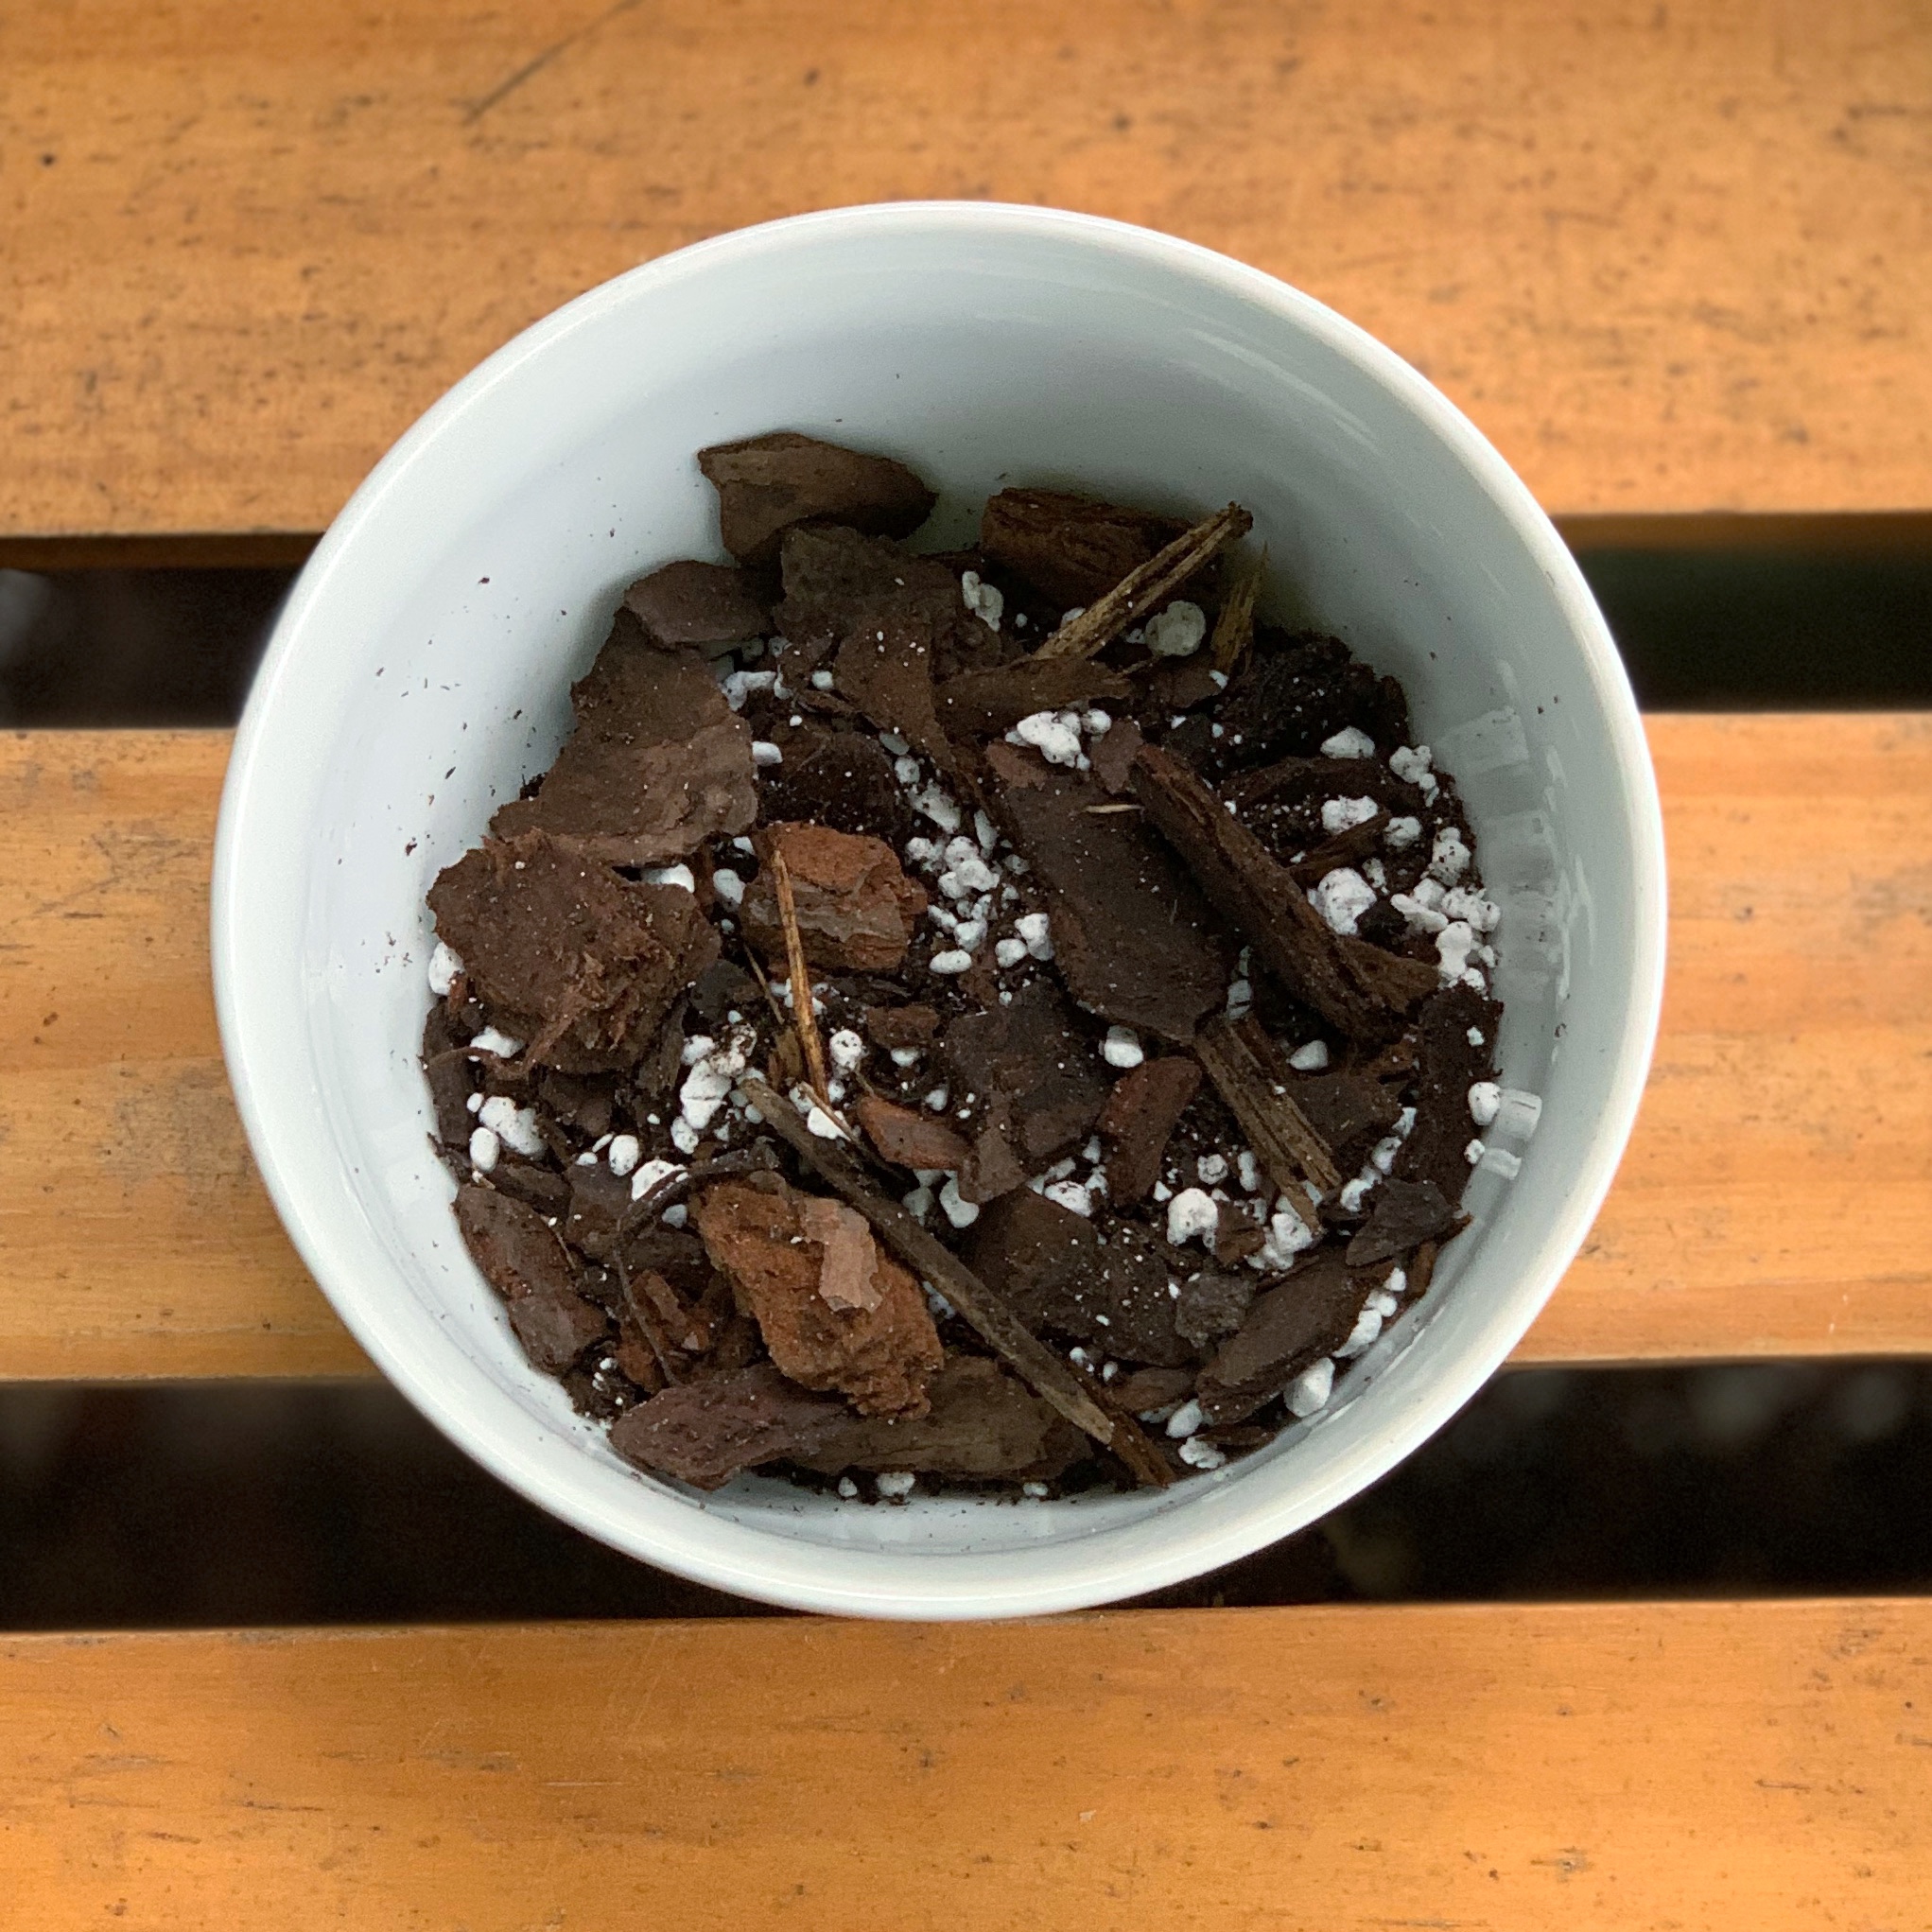
This is the most important step. You want to make sure the propagation medium is super chunky and well-draining. I typically use a tiny bit of potting soil, with tons of amendments like perlite, orchid bark, and horticultural charcoal (I was out of charcoal this time)! If numbers are your thing, the mix is something around 20% potting soil, 30% orchid bark, 25% charcoal and 25% perlite. Proportions and percentages don’t matter so much, as long as the potting soil is the smallest amount and the mix is very chunky and loose. Some people use cacti/succulent soil in place of regular potting soil, by the way, which works just fine!

Clockwise from bottom left: Fox Farm “Ocean Forest” soil; fir bark; perlite
If you’re experienced in the ways of propagation, you know there are many ways to root plants. I know folks who like to root their Hoyas in pure perlite, expanded clay balls (LECA) or even water. I’ve tried all these methods and I like my way the best.
Why do I prefer this method? Because like I mentioned above, it’s been a no-fail technique for me AND I don’t have to transfer the Hoya to a different medium once the roots are developed! Water propagation doesn’t always work for some Hoya species; even if roots do develop, you run the risk of transfer shock from water to soil. Perlite and LECA work well, but I’m all about streamlining things and making them more efficient, so I like to just keep my Hoyas in the same medium I rooted them in.
I do advise against rooting Hoyas in spaghum moss. Even though I use spaghum moss to propagate certain plants, I find that the Hoya roots grow too fast in the spag moss and become very entangled in the moss, making the fresh new roots almost impossible to tease out without breaking them. I typically end up with a sizeable chunk of spaghum moss around the new roots, which isn’t ideal because spaghum moss holds on to moisture like a sponge. Hoyas need loose, aerated soil to maintain a healthy root system. I prefer spaghum moss for aroids and jungle cacti, but nix spag moss for Hoyas just to save myself the trouble and future possible root rot!
Step 2: Prepare your Hoya
You may want to allow the Hoya cutting to callus over where it was cut. This isn’t a hard and fast rule, but I do think it helps to reduce any stem rotting. Callus a plant cutting by leaving it out of any water or medium to dry on a counter for a few hours. Some folks like to let it dry as long as 24 hours, but I just check on it after a few hours to make sure the end looks like it’s dried up and there’s no longer any sap or juices seeping out.
Make sure your cutting has a node or two; nodes are where the roots will develop from! In the photo below, you can see where I stripped a couple of lower leaves so I have a bare node and some aerial roots to work with.

Note the bare node at the bottom!
You can dip the end in rooting hormone (powder or gel), raw unfiltered honey, or real pure cinnamon powder. These aren’t necessary, but they encourage faster root growth. I use Clonex brand rooting gel found here.
Step 3: Fill your propagation vessel
Get a small pot/container (1-2” in diameter) with a drainage hole and fill it about 3 quarters of the way with your medium. Pop in the Hoya cutting, then fill the pot with more of your propagation soil. The node should be covered with soil and the stem secure! Sometimes there’s not a lot of stem to work with, so you might have to use a rock or something with weight to hold it down.

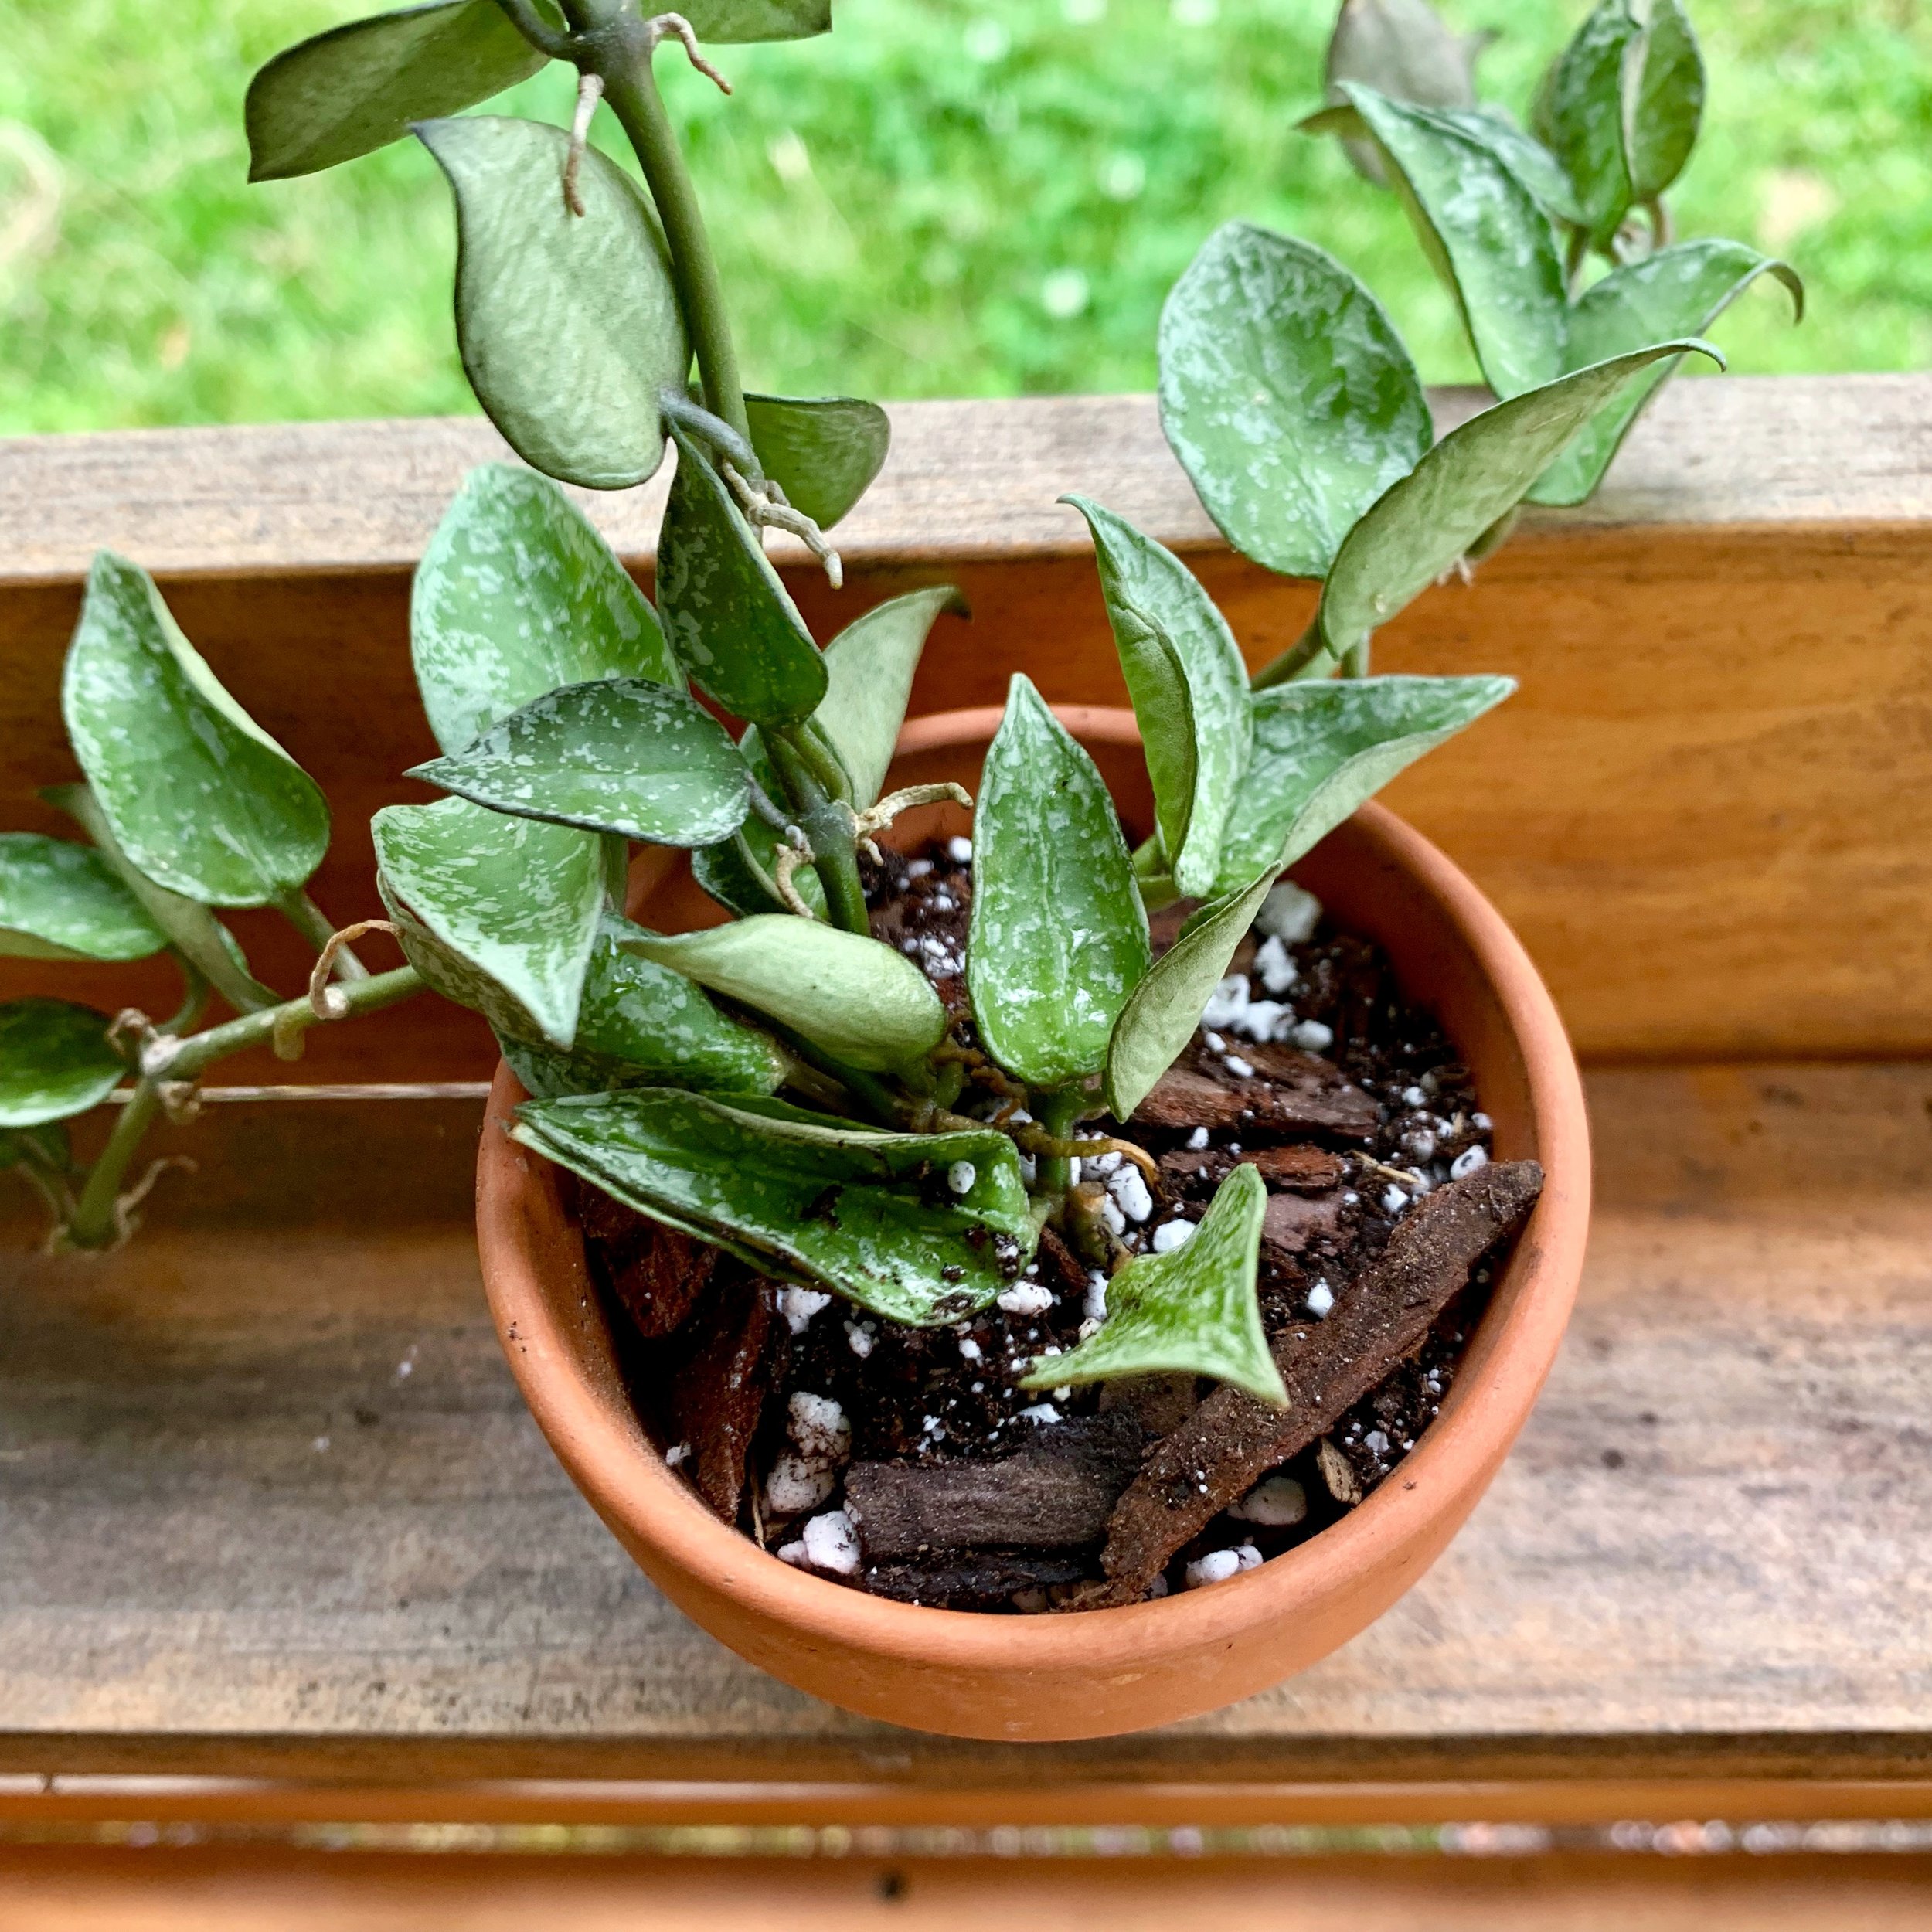
Ta-da! The node is covered and the cutting is secured.
Step 4: Water and keep warm + humid
Water the cutting thoroughly until water pours out of the drainage hole. In order for the cutting to root, you’ll need to keep the soil consistently moist. Once rooted, cut back the amount of moisture and water like you would normally with a Hoya! It’s also important to keep the Hoya cutting warm and humid. I like to root my Hoyas outside in the spring and summer, so the surrounding environment takes care of temperature and ambient humidity for me. If I’m propagating indoors, I cover the pot with a clear plastic baggie to trap humidity and keep it warmer. If you really want to speed up rooting, place a heat mat under the pot. This certainly isn’t necessary and you don’t need to go out and get one for these purposes! But if you have one on hand, it can be a fun experiment to see how fast they root with a mat.
And that’s it! It’s very simple, really! You’ll be a pro at Hoya propagation in no time: just remember to use a well-draining medium and keep it moist and warm until roots develop. If you have any questions about it, feel free to drop me a line (stamenandstem@gmail.com) or visit my Instagram. And remember to hit “subscribe” at the bottom of the post near the comments so you don’t miss any new posts!